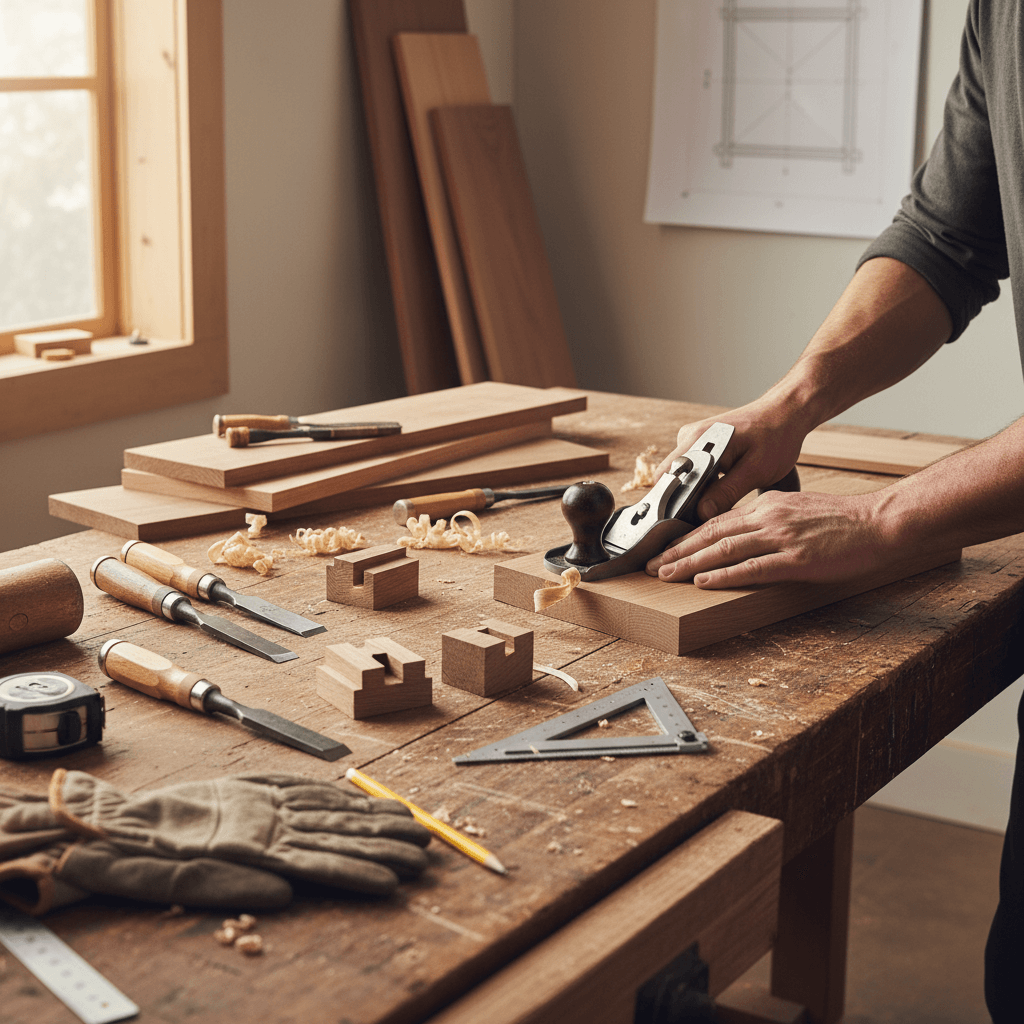
Fundamentals of Cabinet Making
Cabinet making is a mix of careful planning, steady technique, and an understanding of materials. Whether you are a homeowner planning a renovation or a hobbyist expanding a workshop skill set, the fundamentals will guide decisions that affect durability, function, and appearance. This article focuses on the core principles that produce strong, useful cabinets that fit a space and last for years.
We cover materials, tools, joinery methods, measuring routines, finishing choices, and common pitfalls. Each section includes practical tips and examples you can apply when designing or ordering cabinets. If you want ideas about how a layout and finish translate into daily use, read on for clear guidance you can use today.
Choosing materials that match use and budget
The material you select determines how a cabinet will perform over time. Solid hardwood remains popular for visible face frames and doors because it takes stain well and resists wear. Plywood is a strong choice for carcasses and shelving since it resists warping when compared with solid wood panels of similar thickness. Medium density fiberboard offers a smooth surface for painted finishes and is less costly for flat panel doors.
- Face frames and doors Use hardwoods such as maple or oak when you want a natural grain. For painted finishes consider MDF or birch ply panels that sand smoothly.
- Carcasses and shelves Select exterior grade plywood with a clean veneer for hard use. Thicker plywood reduces sag on long shelves.
- Panels and veneers For a consistent look use matching veneer sheets. Veneer can keep costs down while maintaining visual appeal.
Think about moisture exposure in kitchens and baths. Marine or exterior grade glues and sealed edges help reduce swelling. In high humidity spaces apply finishes to all exposed surfaces including inside cabinet boxes to limit movement.
Essential tools and how to use them safely
Having the right tools improves speed and consistency. A small set of high quality tools covers most cabinet projects. Invest in accurate measuring tools and reliable cutting tools. When you start, focus on safety and basic setups that produce repeatable results.
Must have hand tools
- Combination square for layout and marking straight lines
- Sharp block plane for trimming doors and fine fitting
- Chisels for cleaning joinery and mortises
- Purdy brad or pull saw for small trimming tasks
Key power tools
- Table saw for ripping sheets and accurate crosscuts
- Router with straight and profile bits for edge work and joinery
- Random orbital sander for smooth surfaces prior to finishing
- Drill with dowel guides or pocket hole jigs for fast, repeatable connections
Always set fences and stops, and test cuts on scrap material. Using featherboards and push blocks reduces the chance of kickback and helps maintain accurate cuts at the table saw. Wear eye protection and hearing protection when using power tools.
Joinery techniques that give durability and alignment
Good joinery locks pieces together and resists movement from humidity changes and load. Some methods work better in certain areas of a cabinet. Below are reliable options and when to use them.
Dado and rabbet joints for carcasses
Dado joints create a wide bearing surface for shelves and are easy to cut with a table saw or router. Rabbets on the back edge allow a cabinet back panel to sit flush while offering nailing surface. Together these details stiffen the box and help keep everything square.
Butt joints with reinforcement
Butt joints are common when building frames but rely on reinforcement for strength. Use dowels, biscuits, or pocket screws in concealed locations to improve pulling strength. Glue is useful when combined with mechanical fasteners for long term holding force.
When building face frame cabinets use glue and finish nails, and set nails where the face frame will be sanded and finished. For frameless European style cabinets dado shelves and confirm with cam lock fittings when modular design or field serviceability is important.
Measuring layout and fitting steps that reduce rework
Accurate measuring prevents costly mistakes. Always measure the space multiple times and account for plumbing, electrical, and floor or wall irregularities. A simple routine makes large installations predictably easier.
- Measure overall wall widths and then measure between critical obstacles. Record high and low floor points.
- Account for gap allowances. On site leave small clearance for pegging or shimming rather than forcing a cabinet into place.
- Mock up a full scale elevation on the floor to check door widths and appliance clearances.
When fitting doors leave even reveal gaps. Use a 1 8 inch reveal where hinges and tolerances allow. For inset styles measure twice and cut once. Test fit doors and drawers on temporary screws to check alignment before final attaching.
Finishing, hardware, and installation tips that affect daily use
Finishes and hardware determine how a cabinet looks and how you live with it. Consider long term maintenance, frequency of use, and the tactile characteristics of handles and hinges. Soft closing hardware adds a controlled close for drawers and doors, and choice of hinge type affects how doors swing in constrained spaces.
Color and finish can be explored through samples applied to the same substrate that will be used in the final piece. A painted sample on MDF will behave differently than a stained sample on oak. Balance their appearance with lighting and adjacent surfaces in the room.
For layout help and visual references consider professional resources that show options and configurations. One useful resource for homeowners researching options is Cabinet Design which illustrates common layouts and finish choices and can help clarify a plan before you buy materials.
Economical strategies that preserve quality
You can manage costs without sacrificing strength by mixing materials and using standard sizes. Use solid wood only where visibility matters. Use plywood or engineered panels for structural parts. Order sheet goods in sizes that minimize waste and plan grain direction to reduce extra trimming.
- Group similar parts to reduce setup time and joinery labor
- Buy hardware in matching sets to save on finish mismatches
- Pick standard door sizes when possible to avoid custom milling
Time saved in layout and cutting translates to lower labor and fewer mistakes. If you are contracting out production, provide clear drawings and measurements to reduce back and forth and extra charges. Templates for repeated elements increase speed and repeatability.
Common mistakes and simple ways to avoid them
A few recurring errors account for most installation headaches. Anticipating these will keep projects on schedule and reduce extra expense.
- Poor measurement Record both finished dimensions and rough opening dimensions and cross check them before cutting.
- Ignoring reveal and clearance Check doors against appliances and boxes for interference. A slightly narrower door will often save a late adjustment.
- Skipping test finishes Try final coatings on scraps to observe color and sheen under actual lighting conditions.
- Using the wrong fasteners Match screw length and type to material. Thin plywood needs different fasteners than solid hardwood.
If you run into problems document the issue and take a step back to measure and test instead of forcing pieces to fit. Small adjustments such as planing a stile or adding a thin shim behind the cabinet are often easier and more durable than rebuilding a section.
Repair friendly design helps long term performance. Use replaceable drawer slides and choose hinge systems that can be adjusted after installation to correct minor misalignment without major rework.
One practical example is addressing a sagging long shelf. Instead of replacing the shelf, add a thin cleat under the front edge or use metal shelf supports with a middle support. The load is redistributed and the shelf regains function without full replacement.
When working with finishes consider maintenance. Surfaces that clean easily and resist stains reduce lifetime care work. A satin or low sheen finish hides minor wear more than a high gloss surface while still being wipeable.
Finally, document assembly steps and hardware locations. A simple labeled sketch attached inside a cabinet box saves time for future service or replacement parts.
Understanding the fundamentals of cabinet making gives you control over outcome quality and long term usability. Start with material and tool choices that match the intended use, focus on joinery that resists movement, measure and fit carefully, and choose finishing and hardware to suit daily needs. Small decisions early on reduce costly changes later.
If you plan a project now set aside time for measuring and mock up, gather a small set of reliable tools, and pick sample finishes to test in place. When ready call a local workshop or store with your measurements and questions. A clear plan saves money and produces a finished cabinet you will use with satisfaction. Contact a specialty provider or visit a showroom to compare real samples and get a quote tailored to your space.